Correction of (spelling) mistakes with GitHub
Tutorial: How your readers can help your blog/website
September 16, 2015
Here we go, my first tutorial . This blog is a sharing place, so I want to let anyone edit the blog content. And because English is not my mother tongue, I’ll probably make some spelling errors in the text. Here, I explain how you can help me correct these errors. For the people who already know Git and GitHub it’ll be quite easy, for the others, let’s discover the world of social coding.
1. Create a GitHub account
If you already have one you can skip this part. If not, go to GitHub.com.
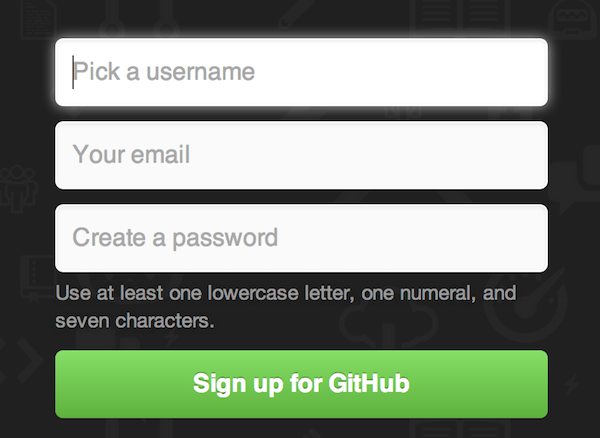
Complete the sign-up fields on the home page and click on the sign-up button.
Choose the free plan on the second step and finish sign-up.

You now have a GitHub account!
2. Let’s ask to edit a post
On any post of this blog you can find, at the bottom, an edit-link. Click on it!
Edit this post on GitHub
You will arrive at the Markdown file of the post on GitHub. All the posts from this blog are written in Markdown, if you want to know more about it, read Github’s Markdown guide. The GitHub interface may seem a little bit messy, but in fact, it’s not that complicated. So far, the only thing you have to know is how you can edit a file. To do that, click on the little pencil on the right.

GitHub automatically creates a fork (= a copy) of the file on your account. There, you can edit the content of the file (you need to know a bit about Markdown, but as you can see, the raw file is almost the same as the render). If you want to see the result of your changes, click on Preview changes (top-left, second tab). There, you’ll see in green all the lines you have added, in orange the lines you have modified and in red the lines you have deleted, cool no!? When you have finished your changes, you can propose the file change on the bottom of the page. Name your changes, and click on Propose file change.
After doing that, you’ll arrive at the Comparing changes page, where you can see the difference between your file and the original one (Unified or Split mode). If you’re ok with the changes, you can click on the Create pull request button.

Done, your changes have been sent to me. Meanwhile, your changes have been put in the “pull request” part of the Morses’s Blog Repository. Anyone can see them or comment on them. Thanks in advance for your feedback, if you have any questions, comment on this post.