Build a website in 1h for less than $8/year
Your first landing page on the web, with your custom domain name
March 7, 2016
This is a tutorial for very beginners in web development. Just to show that it’s easy to setup a first website and put it on the internet.
Buy a domain name
Setup Github
In this tutorial we’ll use Github as a free hosting service (nice no ? :) ). For that you’ll have to create an account. If you’re many on the project, I advice you to create an organization with the name of your project (follow the steps here) Verify your email!
Find a nice bootstrap template
Because we’re lazy or we don’t know how to code, we’ll download a free boostrap template. You can find some nice exemple in StartBootstrap. Once you have find one you love, click on View Source on Github. For this tuto, I choose the template Stylish Portfolio. You’ll arrive on the repository where you can see all the files of the website.
Fork and rename
On the repository you click on the fork button (like bellow) on the right-top of the page. You can choose to put this fork(= copy) on your profile or on your organization, it’s up to you.
You’re on track! Go to www.your-(username/organization).github.io/startbootstrap-stylish-portfolio and you’ll see your page (sometime, you have to wait some minutes, to let github set your website). That’s the power of Github Pages.
We’ll rename the repository, for that go to the tab Settings. There you can see the actual repository name and change it if you want.
If you want the url look like www.your-(username/organization).github.io instead of www.your-(username/organization).github.io/name-of-the-repository, change the name of the repository like this: owner-tile.github.io. owner-tile is your username or the name of your organization.
It’s really important to follow this naming convention! Github look after the repository with the name of the owner (you or your organization) +
.github.io. Github will only serve this repository online. If you want to edit the right file to modify your future website, it’s more easy to change the main branch. To do so, go it the “Branches” menu, in the “Default branch” section, selectmasterin the dropdown and update the main branch.
Modify content
HTML it’s a markup language. There are no logic in it, just tags who define the purpose of a content. Like <p></p> are the start tag and end tag for a paragraph or <h1></h1> are the tags for headings (=titles). Because we’ve choosed a really simple webpage. All the informations are in the index.html in the <> code tab. Click on it to take a look.
Between the tags <head> ... </head> (line 4 to 31 in my case) are the metatags. There are used by your browser, Google, Facebook or Twitter to have a quick look of your website (like title, description, etc.). But the main info that we want to change are in the <body> (line 33 to 301 in my case).
title
The template is well done. The different components are seperate with comment like <!-- Navigation --> or <!-- About -->. They correspond to a specific part of the web page. For our first changes, we’ll update the title. In the header section (see picture),
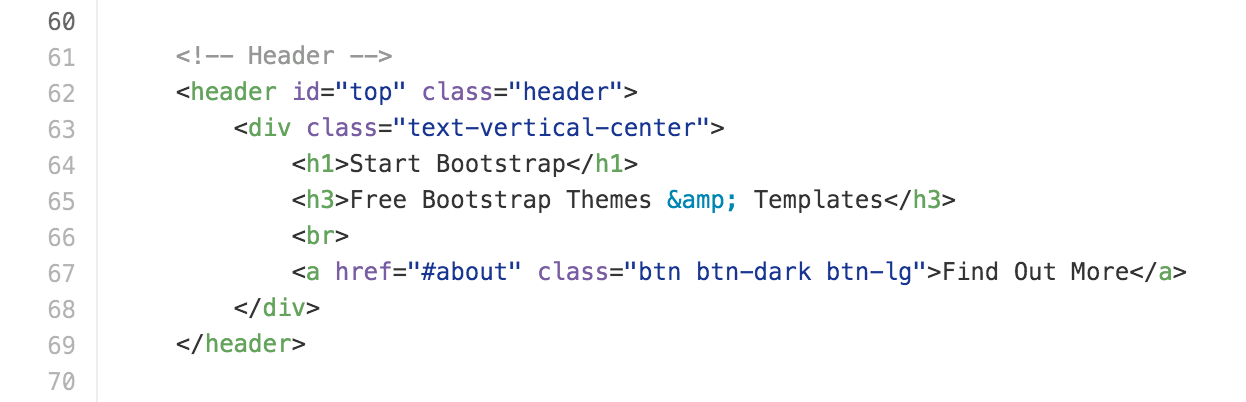
63 | <div class="text-vertical-center">
64 |     <h1>My great project</h1>        <!-- Big title -->
65 |     <h3>This project is so cool</h3> <!-- tag line -->
66 |     <br>                             <!-- break line -->
67 |     <a href="#about" class="btn btn-dark btn-lg">I want to be part of</a> <!-- link button -->
68 | </div>
the result

img
modal
MailChimp
Google analytics
Some links
https://www.formstack.com/ https://app.instapage.com/ https://app.kickofflabs.com